

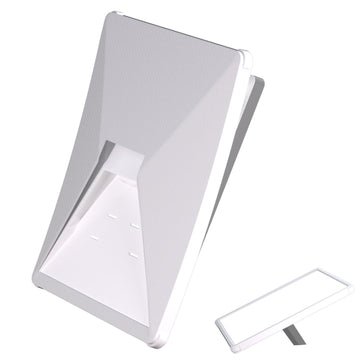
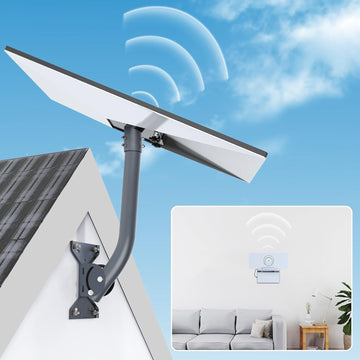
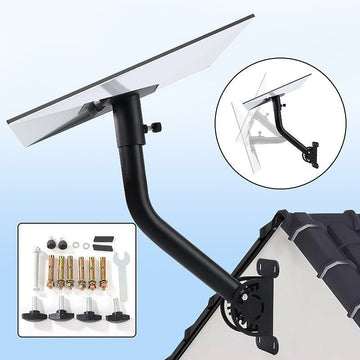

A mount should be evaluated as part of a specific installation, not as a universal accessory. Start with the Starlink model, then identify the surface, expected exposure, cable route, and how the assembly will be inspected.
Match the mount to the model
Confirm the hardware revision and review the current installation guidance in Starlink Support. Compare the attachment points and included hardware for the exact mount variant. Similar product names do not establish that parts are interchangeable.
Evaluate the installation surface
Identify whether the surface is fixed, temporary, smooth, ferrous, structural, or non-structural. Follow the mount maker’s instructions for preparation and fastening. Do not infer suitability for motion, high wind, or unattended use unless the current product record explicitly covers that condition.
Review the complete assembly
Check clearance, cable strain relief, drainage, access for inspection, and the Starlink unit’s view of the sky. The current Starlink Gen 3 adjustable mount listing is one example of a product record that should be read for its exact variant details.
Use a repeatable checklist
- Confirm model and attachment points.
- Verify the surface and fastening method.
- Plan cable routing without sharp bends or unsupported strain.
- Inspect the assembly after installation and after conditions change.
Use the setup finder to narrow products by model, or review the Starlink Mini field guide for temporary-placement considerations.


Comments